How it works
From the first room to the last day.
MoveMark follows the rental: proof before you unpack, a report when it’s done, a comparison when you leave, and a packet if anything is questioned.
01 · Before you unpack
Start with the address.
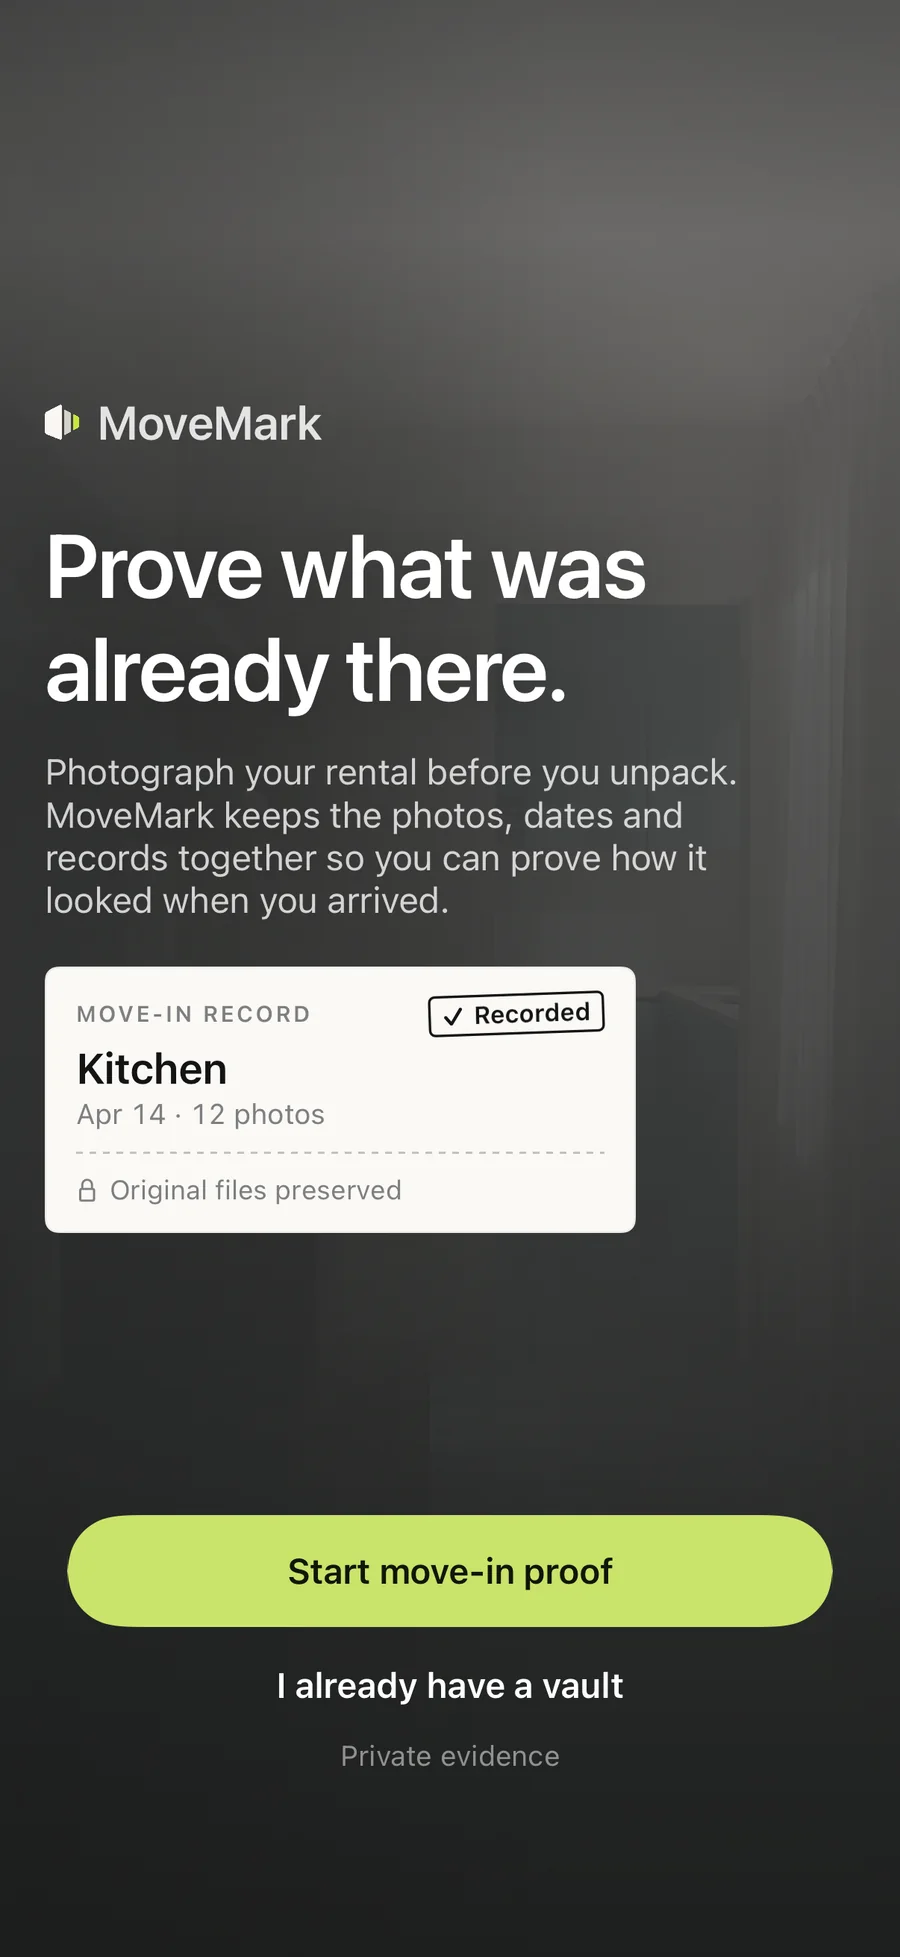
Create your proof vault with the rental’s address, then go straight into the first room.
MoveMark suggests the rooms most homes have, and you can add your own.
02 · Move-in day
Room by room, before the boxes.
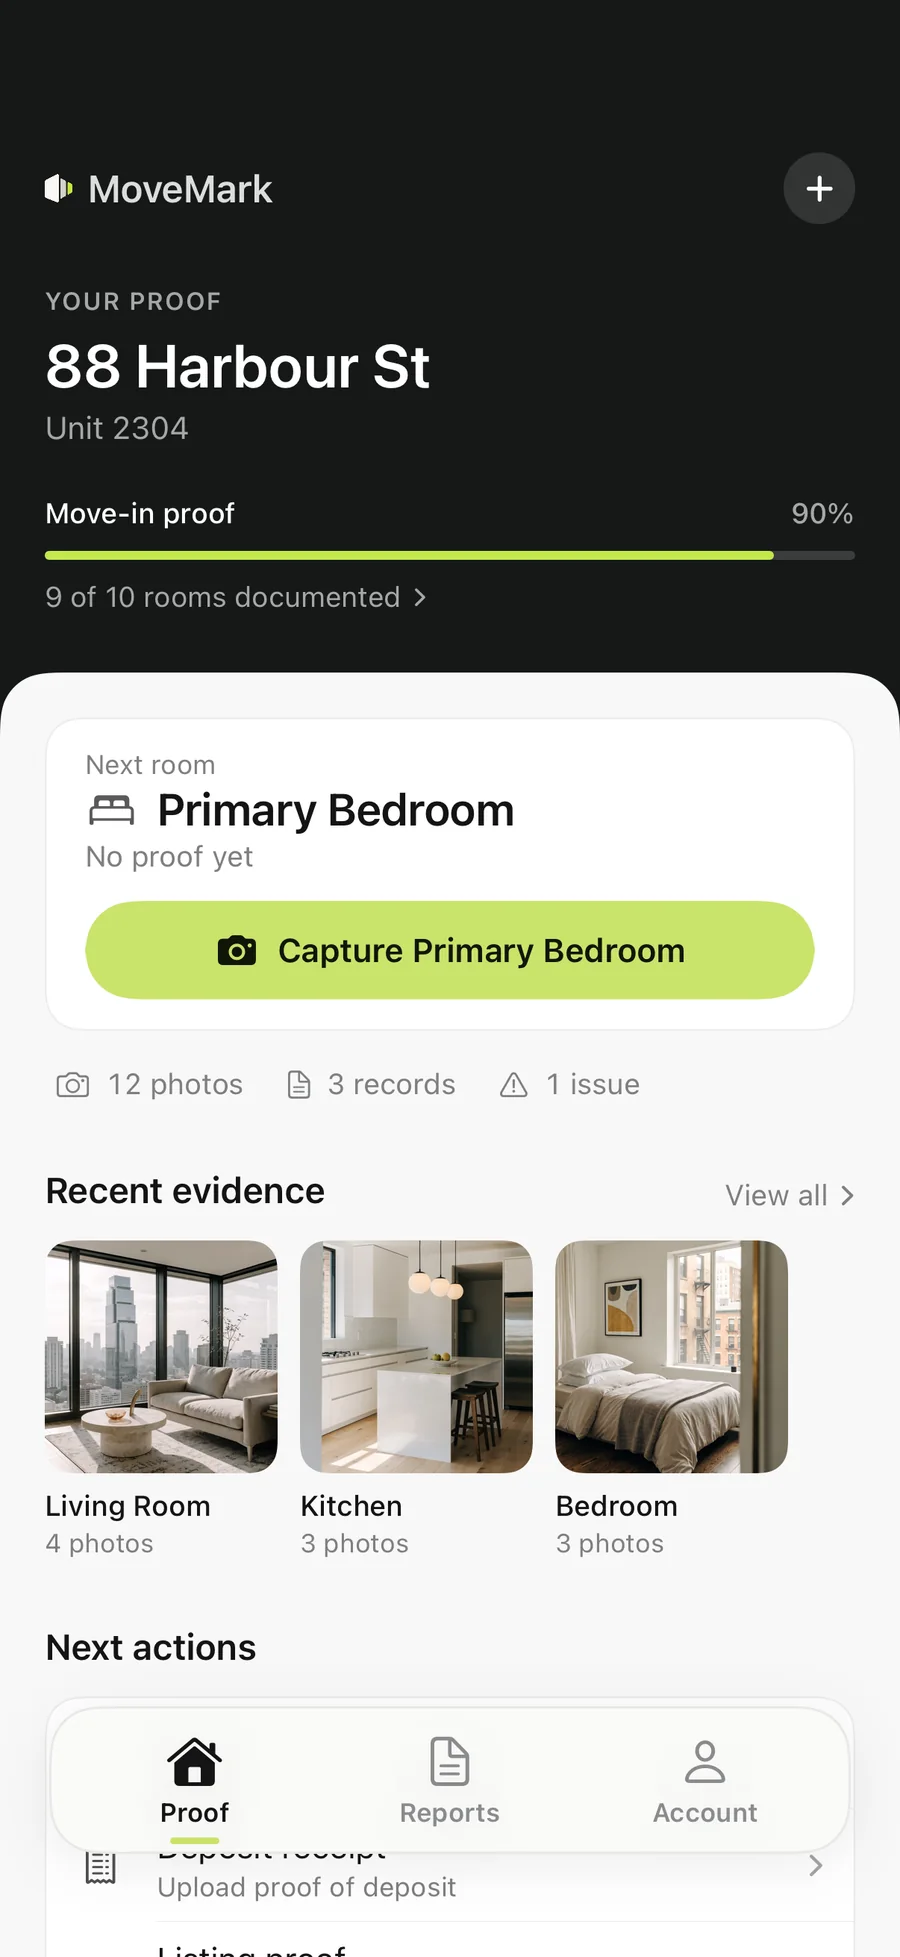
Proof shows the next room and what still needs evidence. Tap capture, and the camera stays open while you walk the room, suggesting the next shot.
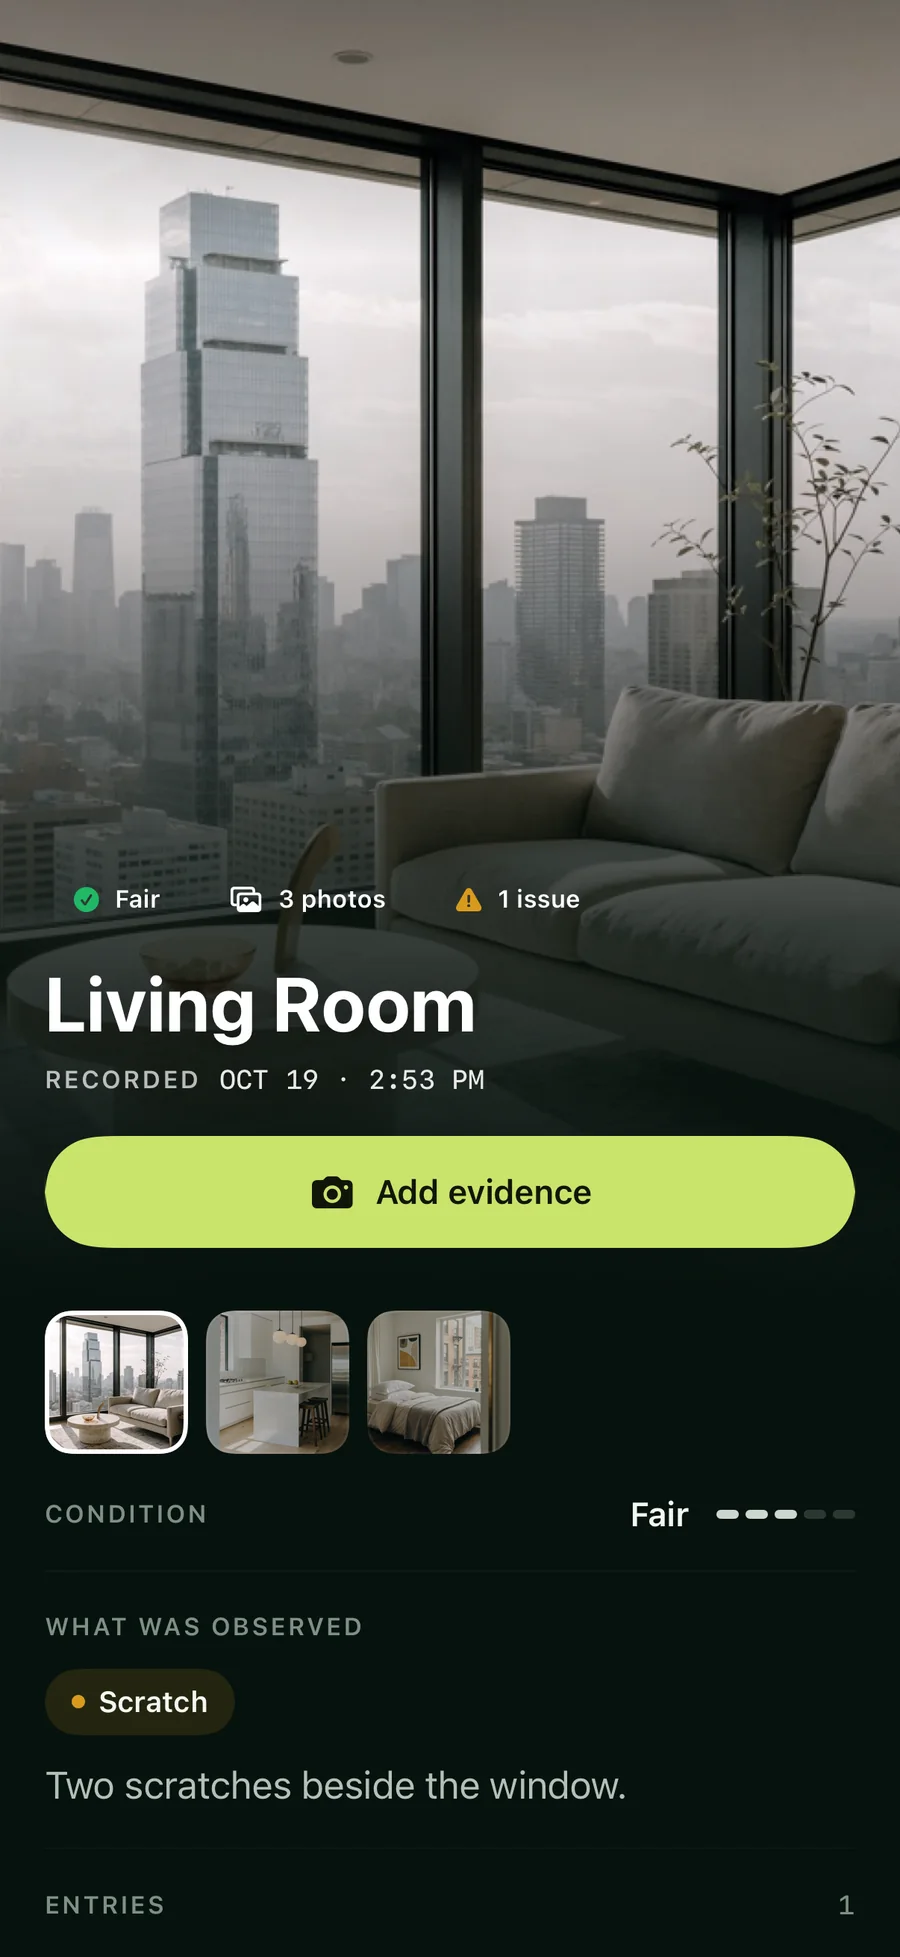
For each room you note its condition and what you observed: a scratch, a stain, a chip. You can also add photos you already took.
03 · Every save
Nothing lost to a bad connection.
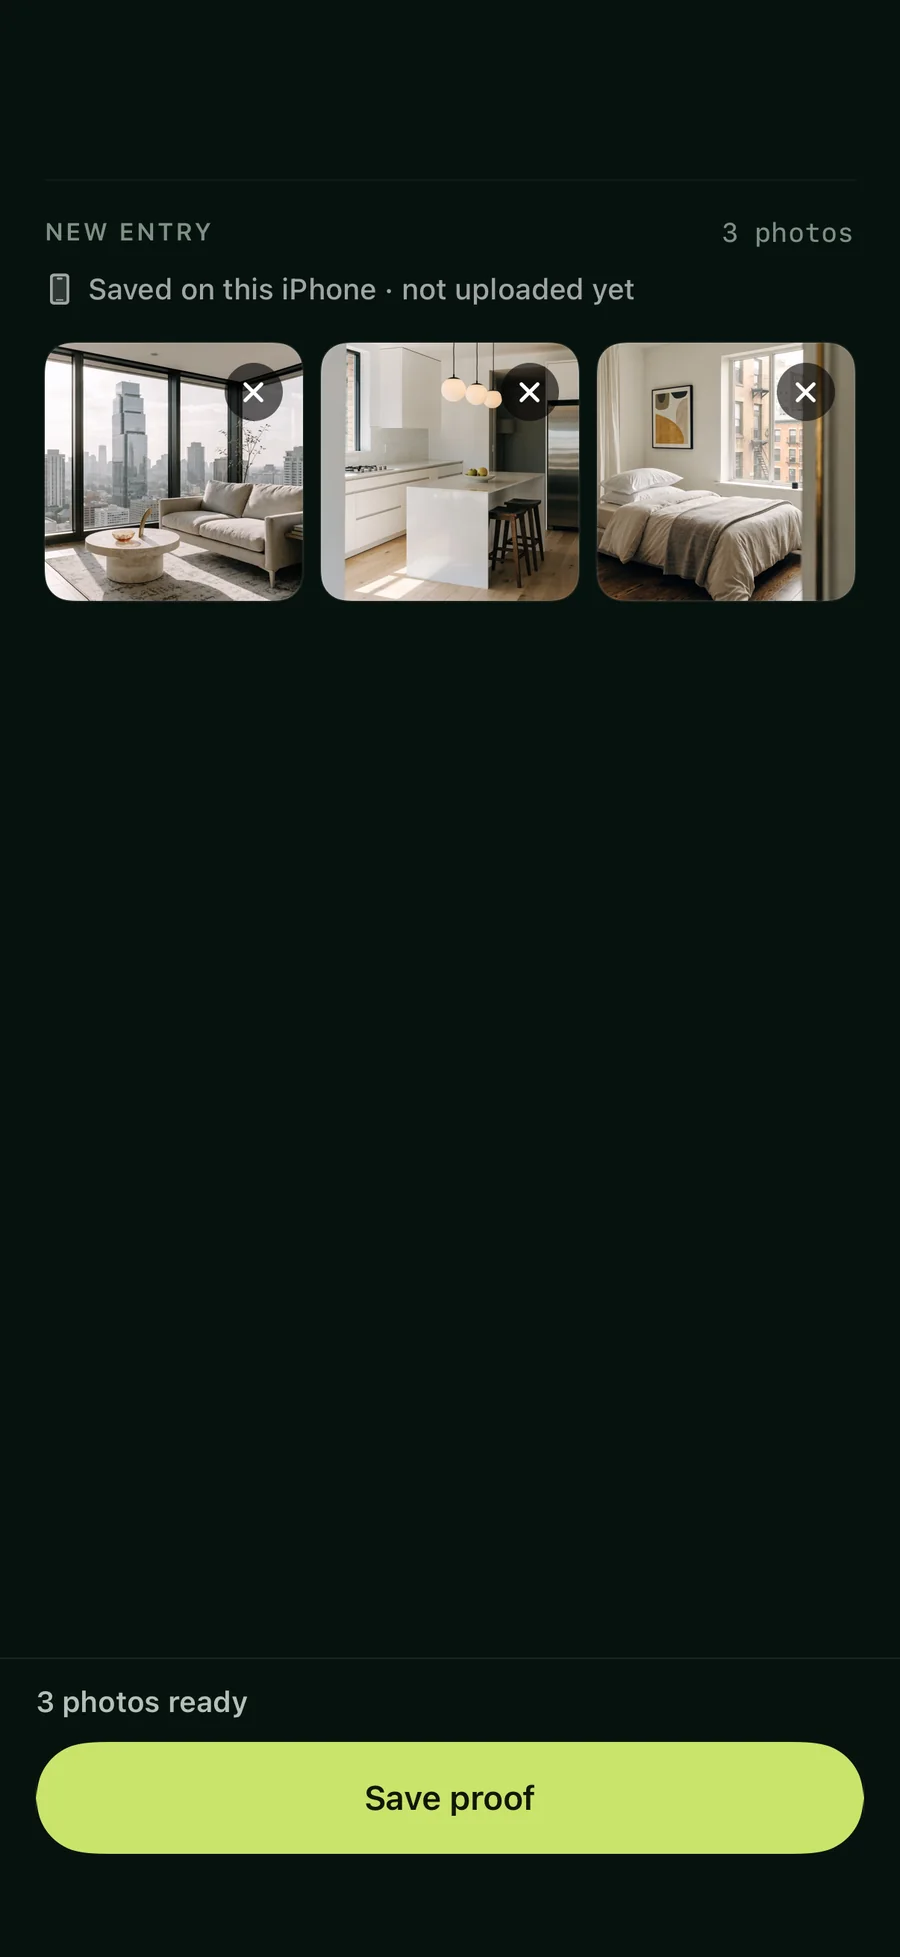
Photos are written to your phone first and marked “Saved on this iPhone · not uploaded yet”. They stay there until our servers confirm they have them, then move into your proof vault.
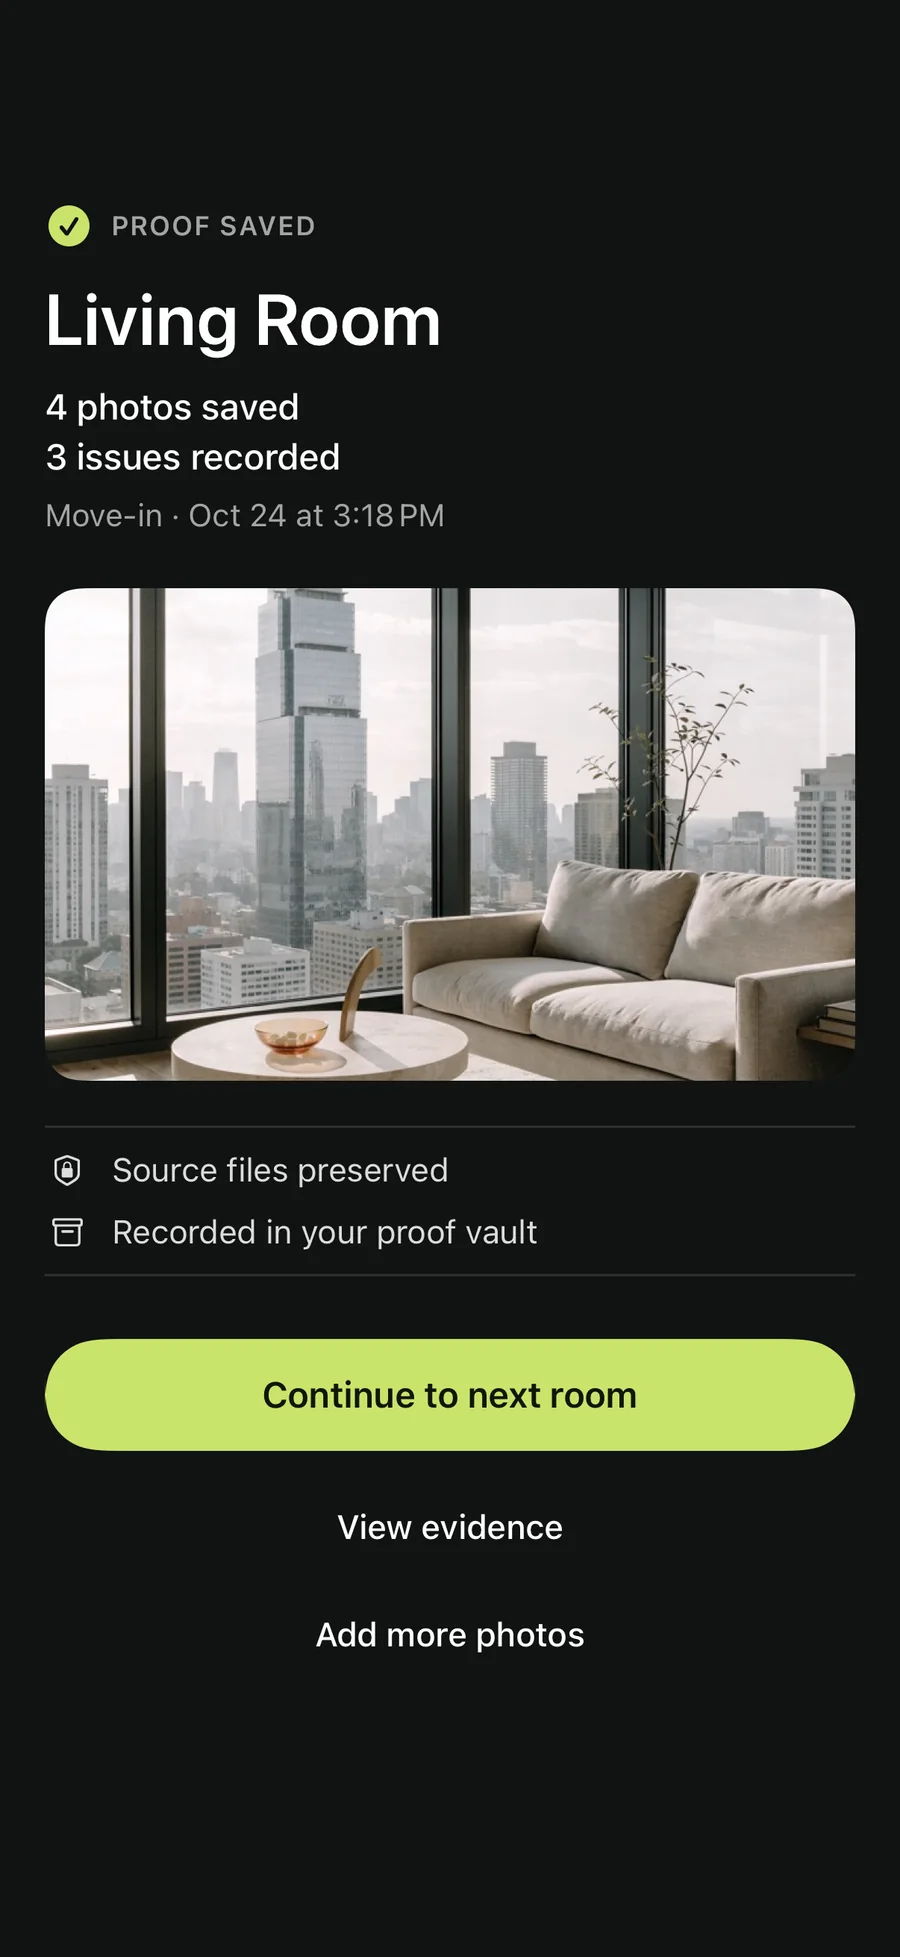
After each save, a receipt shows exactly what was recorded and that the source files were preserved. MoveMark keeps the original file untouched.
04 · When every room is done
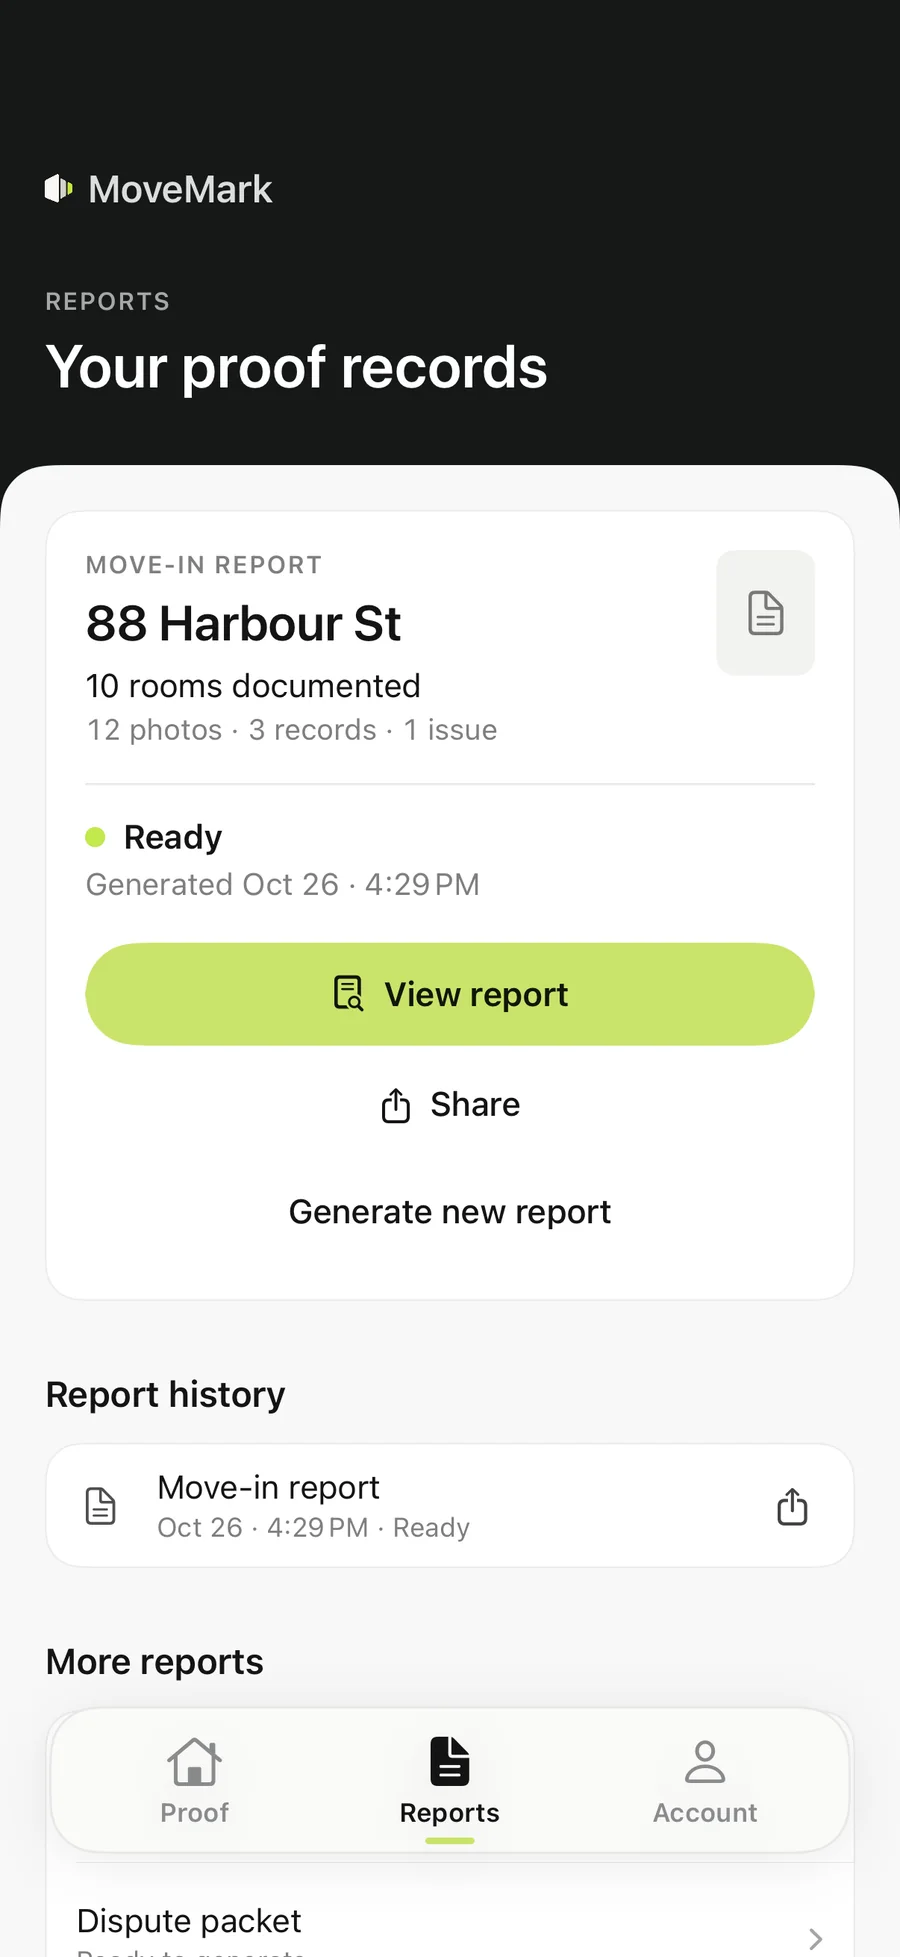
Generate the move-in report.
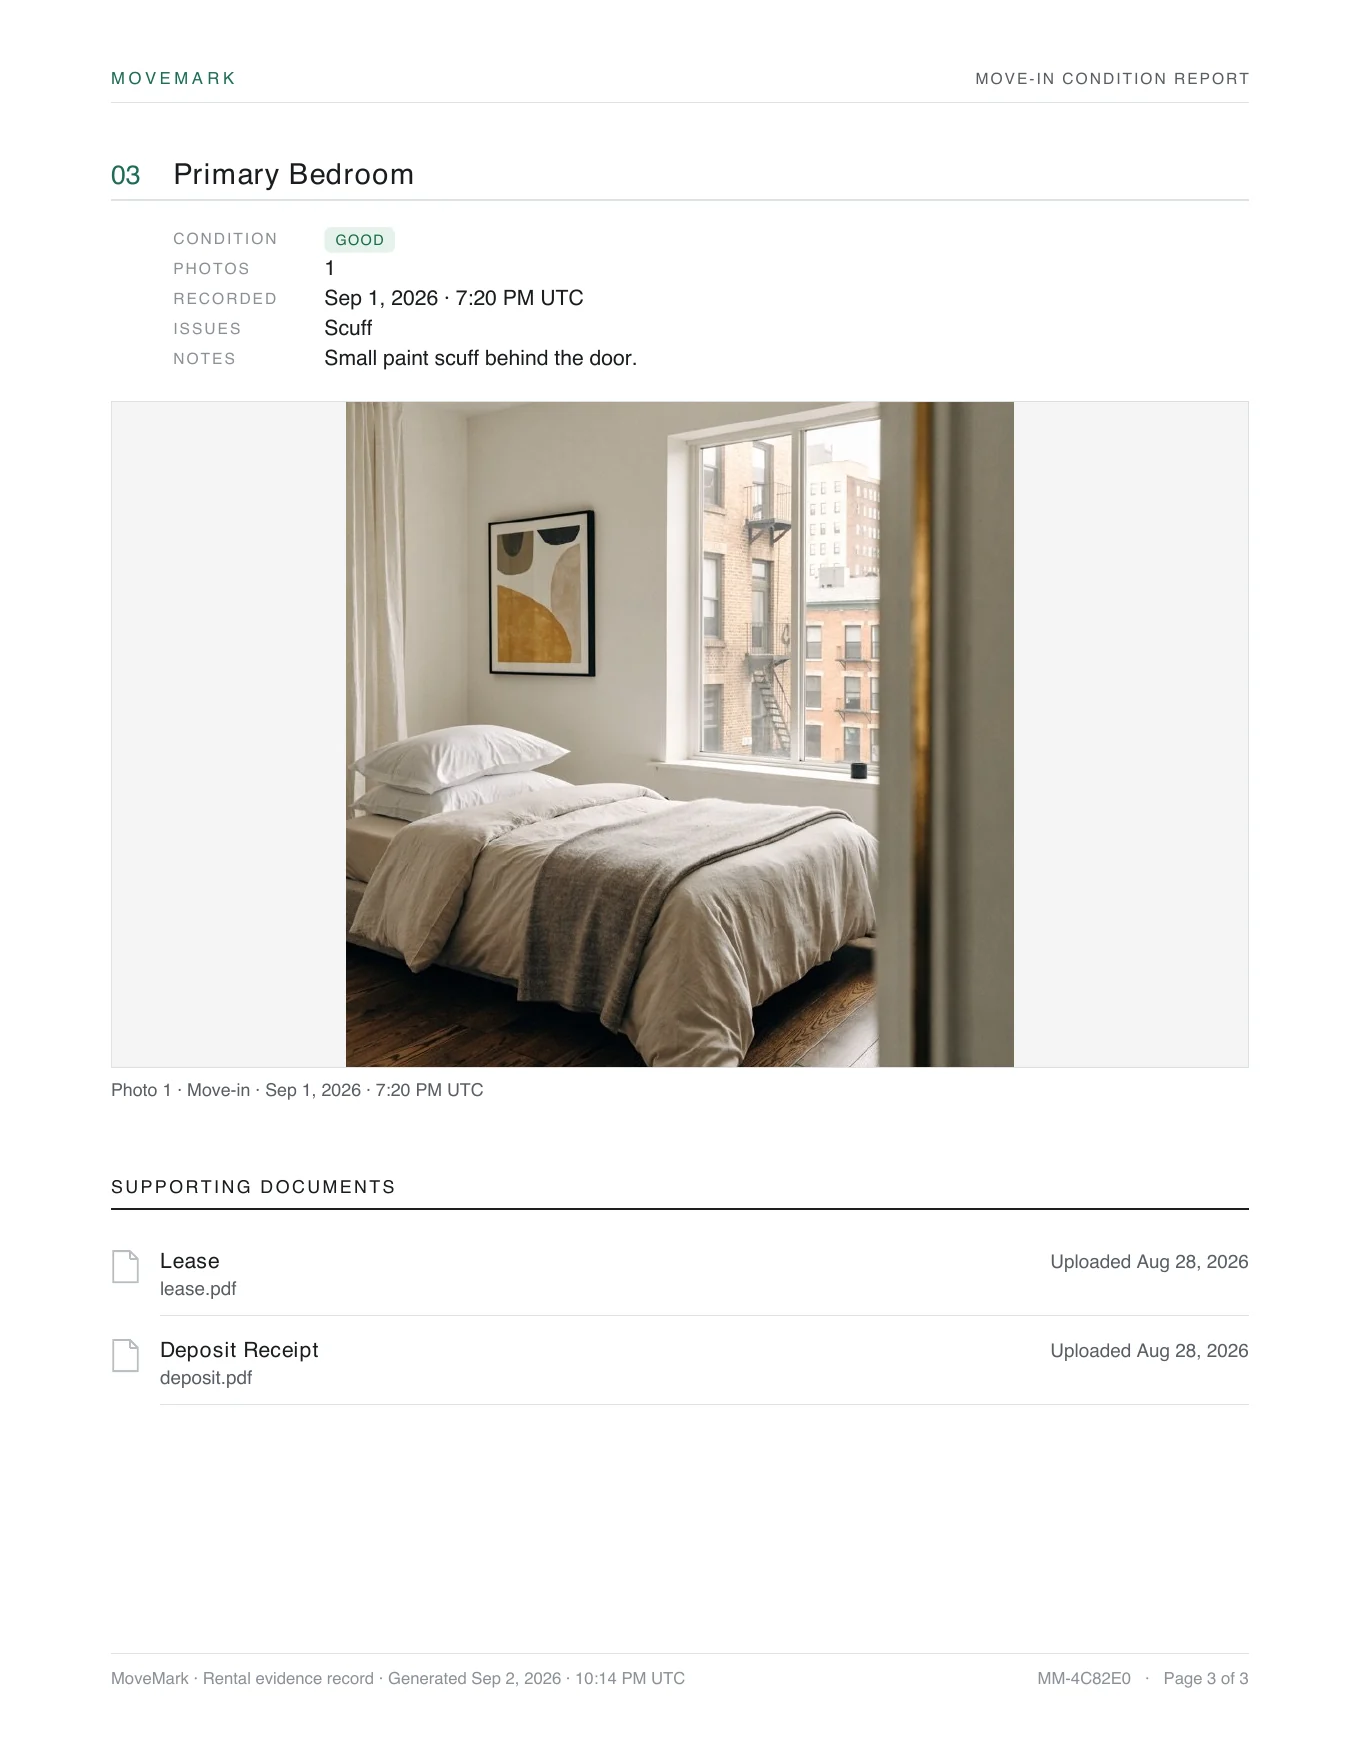
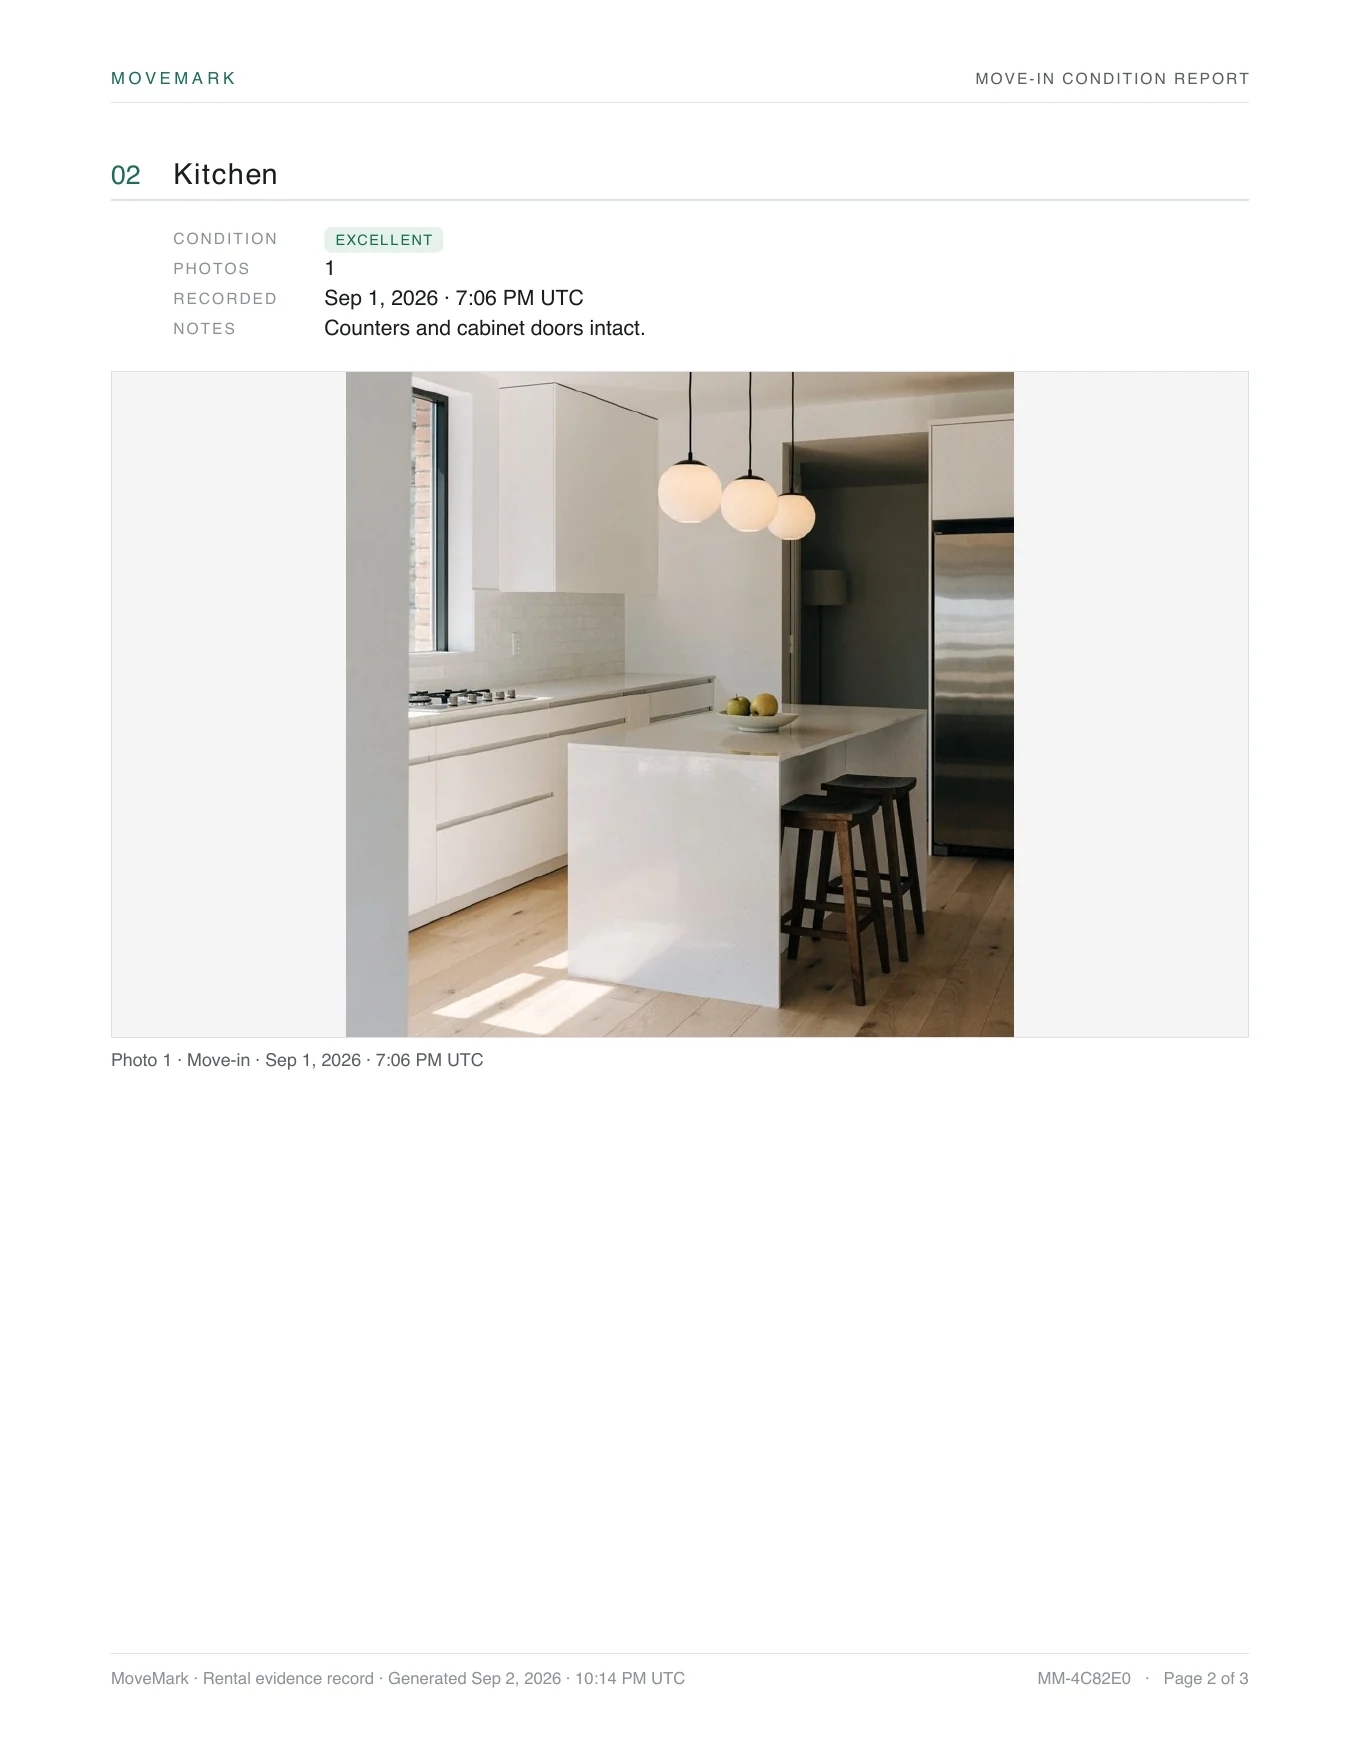
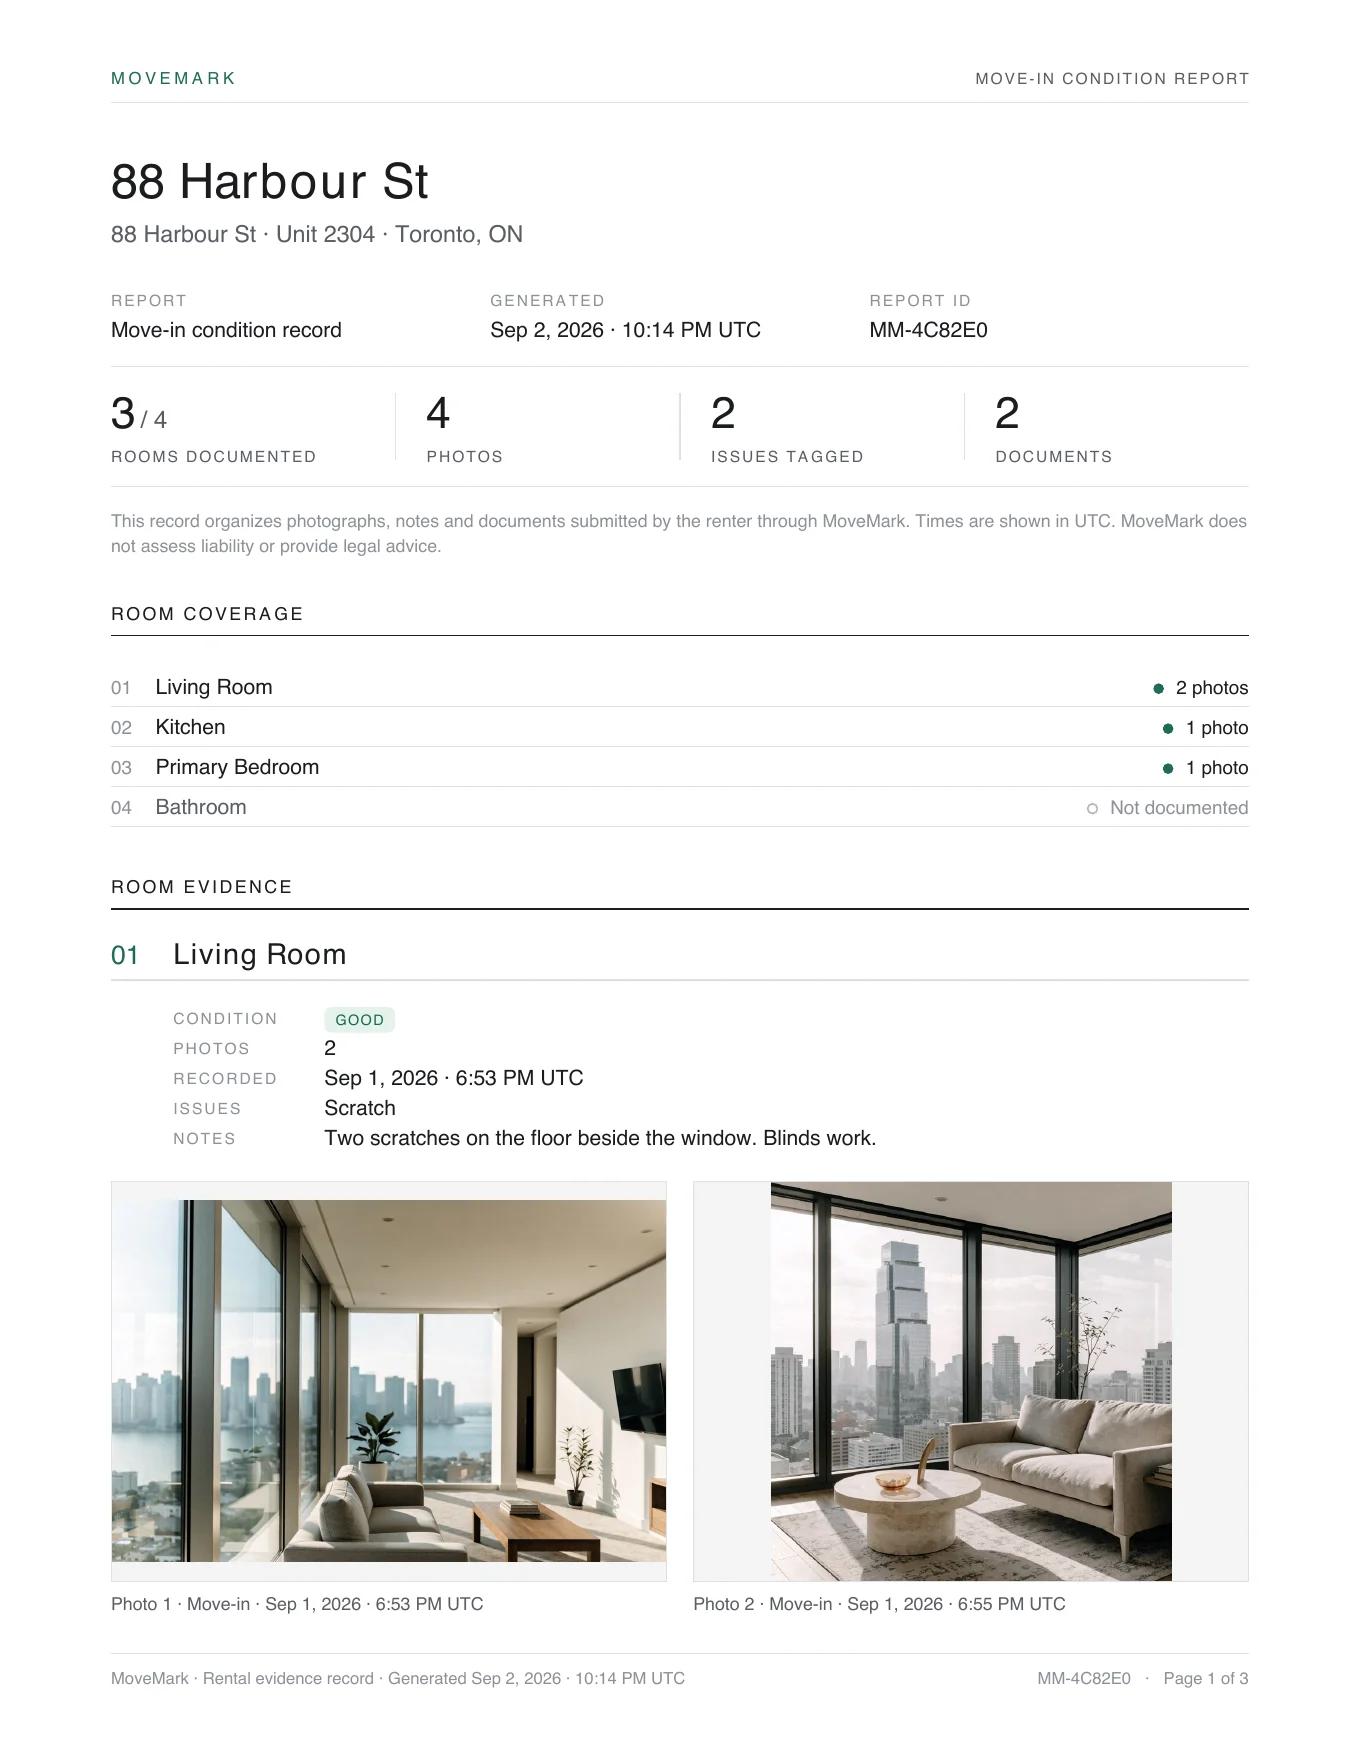
Reports turns your proof into a PDF: every room, its photos with their dates, condition, notes, and the documents on file. Each report has its own ID.
Share it from your phone with the share sheet. MoveMark doesn’t publish it anywhere.
05 · Move-out day
Compare, room by room.
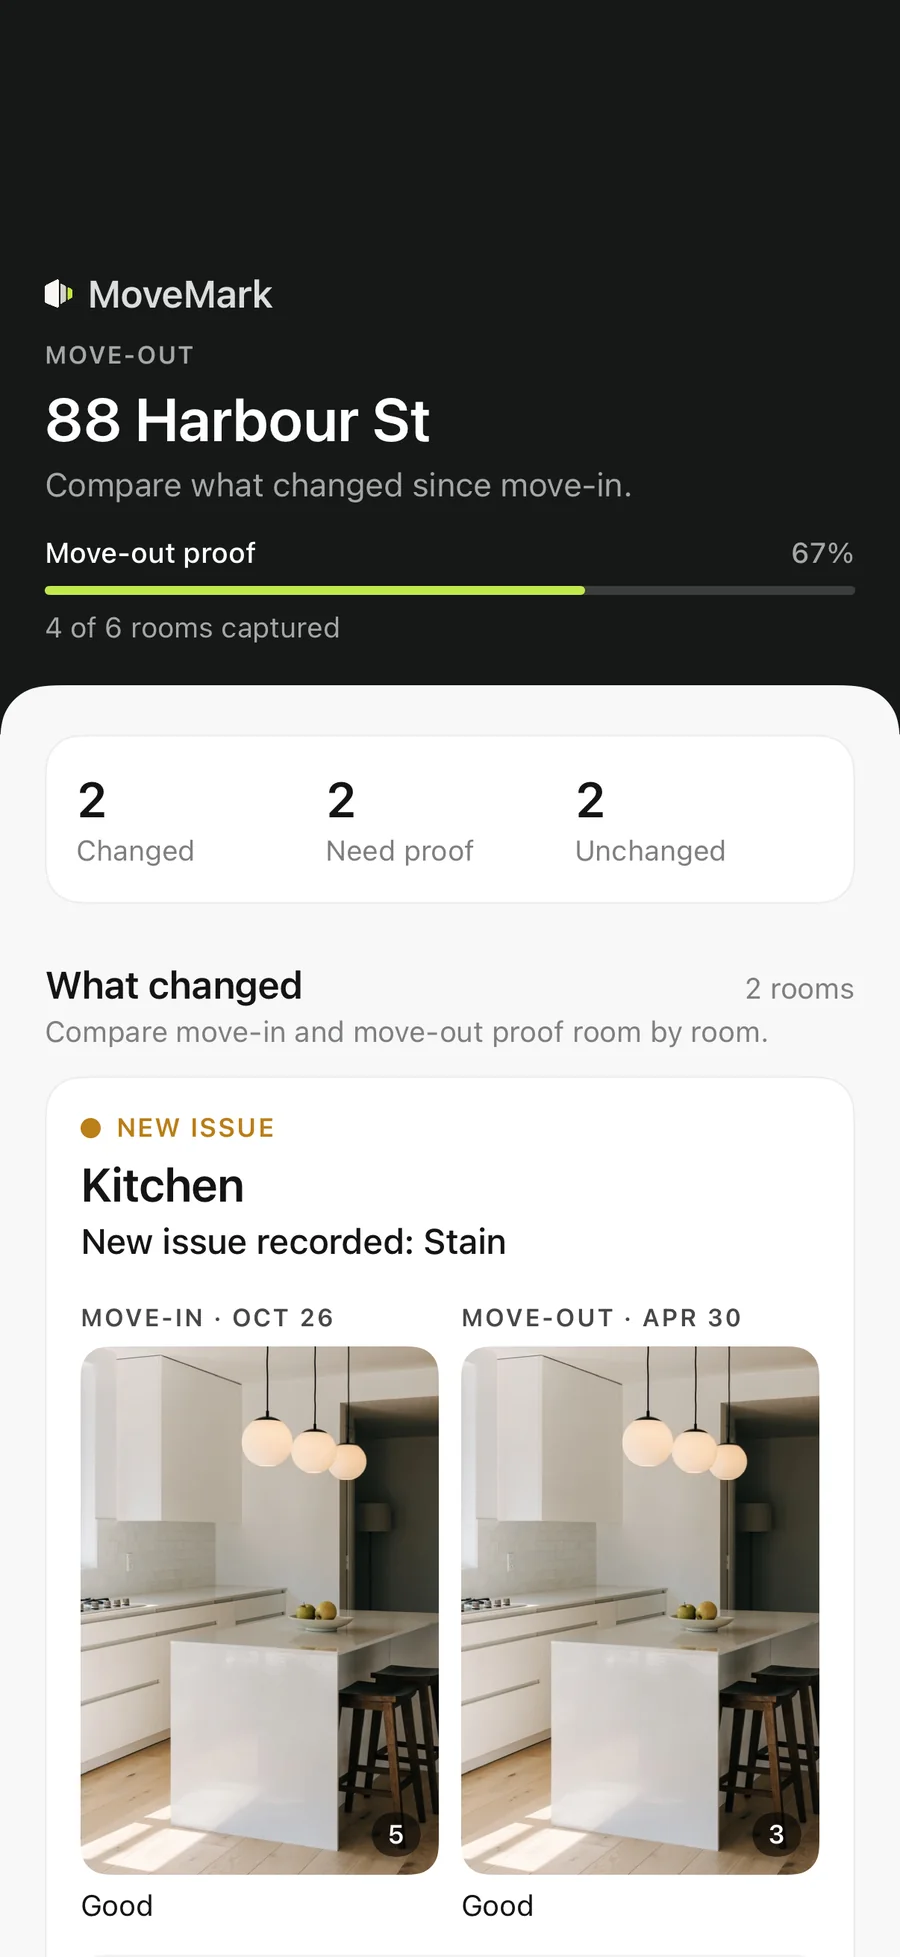
Move-out report on ProCapture each room again. MoveMark puts each move-in photo beside its move-out photo, both dated, and lists what changed, what still needs proof and what is unchanged.
It records facts. It never decides severity or who is at fault.
06 · If a damage claim is disputed
Assemble an evidence packet.
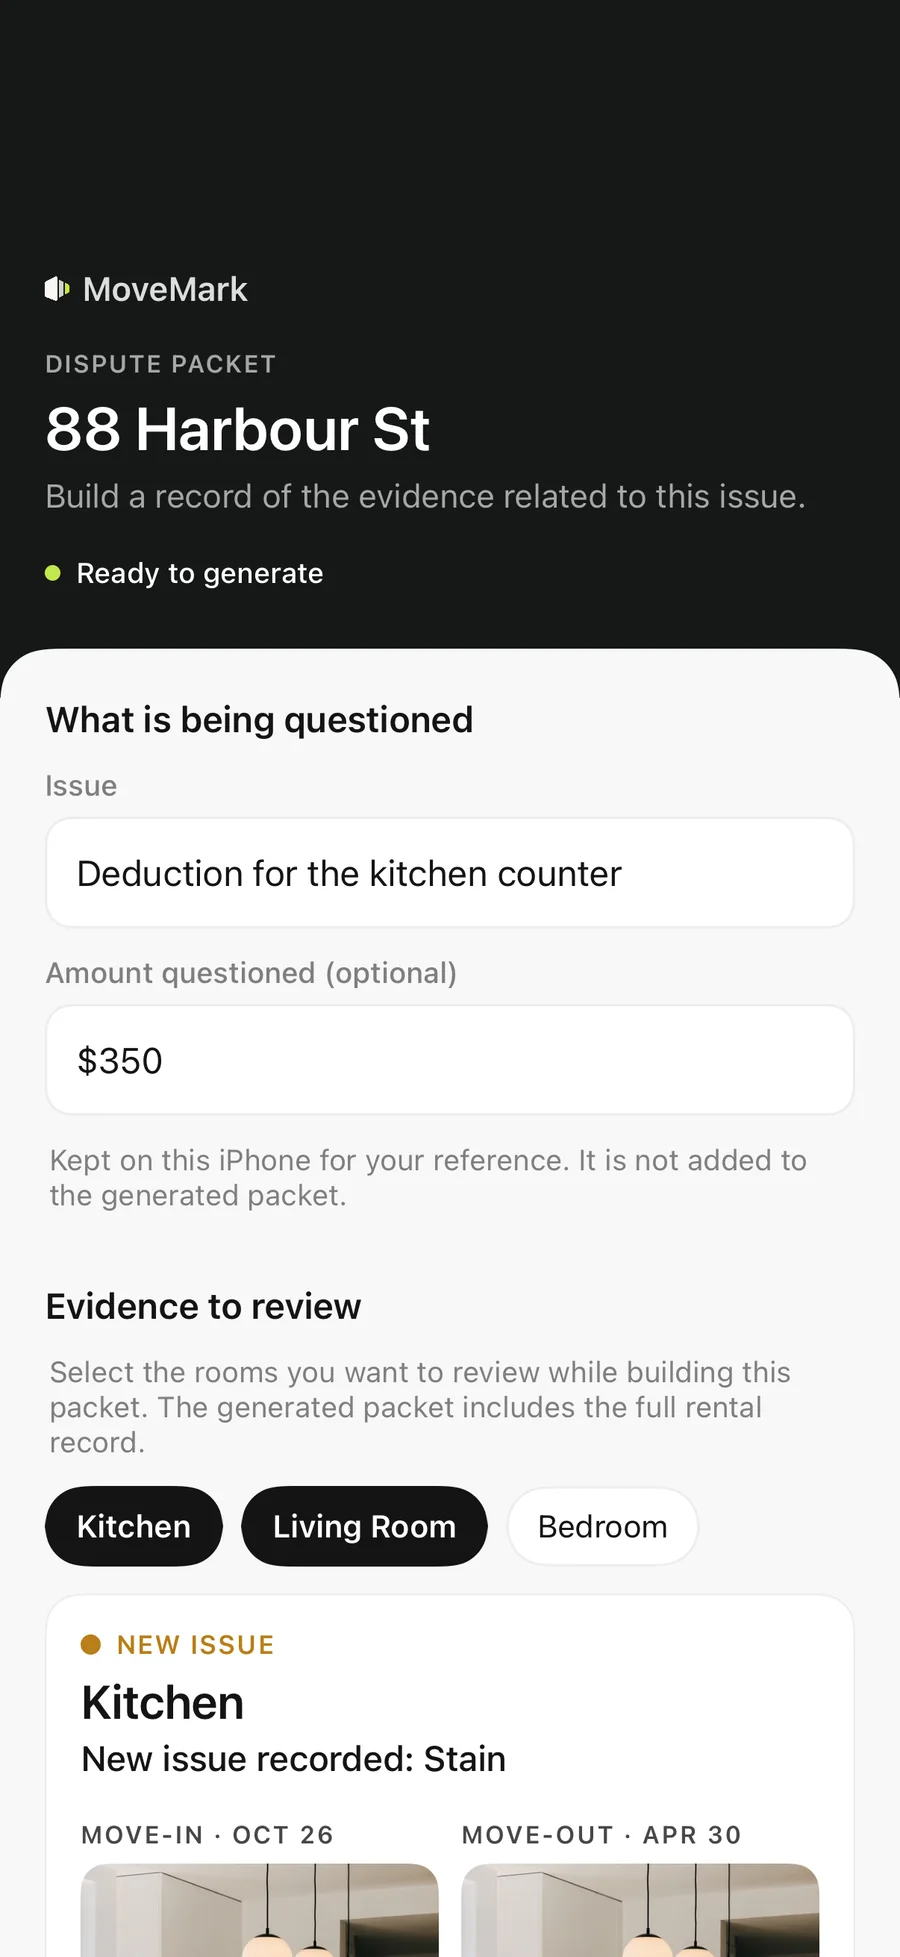
ProChoose the rooms in question. MoveMark builds a PDF from what you already recorded: move-in and move-out evidence, documents, maintenance cases and a timeline.
The note about what is being questioned stays on your iPhone and is not added to the packet.
See the report before you download anything.
A real MoveMark move-in report, generated by the same code the app uses, with sample data.